Patterned Background with Self-Portrait (grades 2-6)
Spring 2021
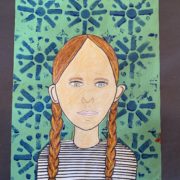
Almost any kind of art looks beautiful with a patterned background behind it. If you’d like to create art in the style of artist Kehinde Wiley, create a self-portrait and place it on top of your patterned background. Make sure the patterned background is on a larger piece of paper than the self-portrait.
STEP ONE: PATTERNED BACKGROUND
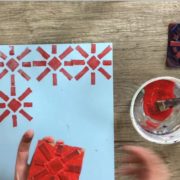
Creating a patterned background is easier than you think! Follow teaching artist Bethany Wray as she guides you in creating a stamp you can use to make a patterned background for any piece of art. If you have already painted a self-portrait, use a larger piece of paper than the self-portrait.
Materials: sponge, cardboard and/or foam for stamp, paper*, scissors, brush, water, acrylic paint
(*If you have already painted a self-portrait, use a larger piece of paper than the self-portrait.)
STEP TWO: SELF-PORTRAIT FOR GRADES 2-3
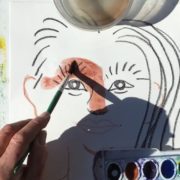
Artist Bruce Morrison teaches you how to draw and paint a portrait of yourself. Use a smaller piece of paper than the patterned background you made.
Materials: paper*, crayons, watercolor set, water container (optional–mirror)
(*If you have already created a patterned background, use a smaller piece of paper than the background.)
STEP TWO: SELF-PORTRAIT FOR GRADES 4-6
Artist Bethany Wray teaches you how to draw your own face, creating a self-portrait. Use a smaller piece of paper than the patterned background you made.
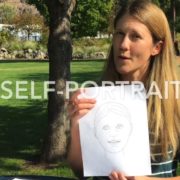
Part 1–sketching:
Materials: paper*, pencil, eraser, mirror
(*If you have already created a patterned background, use a smaller piece of paper than the background.)
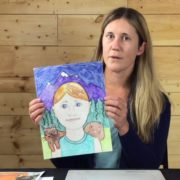
Part 2–painting:
Materials: the self portrait you already drew, pencil, eraser, crayons or paints
STEP THREE: DISPLAY
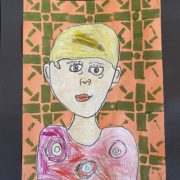
Once you’ve created a self-portrait, place it on top of your patterned background for a colorful exhibit!
Learn more about Kehinde Wiley and the art lessons he has inspired in Methow Arts education programs HERE.